I found it and thank you very much, this topic can be closed... +1 to you hoopsman
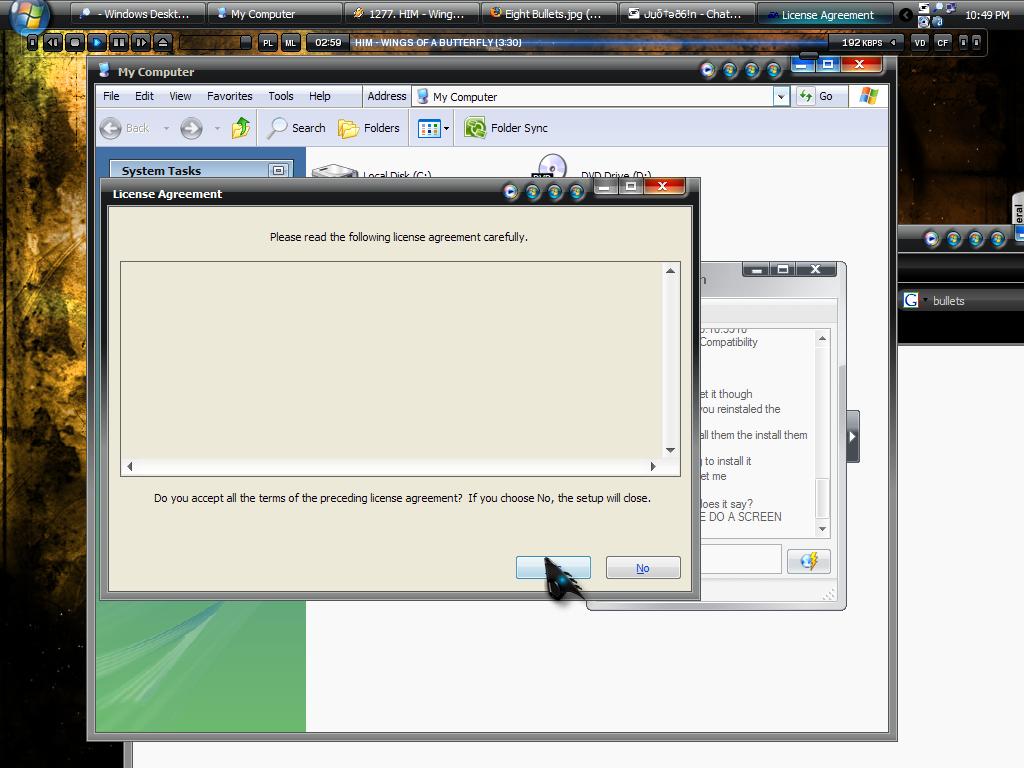
If the installation of the game prompts you to install DirectX 9.0c and it's already installed on your system, choosing to cancel will stop the installation. Continuing with the installation of DirectX 9.0c will proceed with the installation, but after a reboot, you will be prompted to install again.
To get around this cycle, follow these steps if you are using Windows XP:
1. With CD 1 in the disk drive, open My Computer.
2. Right-click your CD drive and choose Explore.
3. Right-click Autorun.exe and choose Properties.
4. Select the Compatibility tab.
5. Click once in the box next to Run this program in compatibility mode for:
6. Select Windows 2000 from the drop down menu.
7. Apply changes.
Once you have set Autorun.exe to run in Windows 2000 mode, double-click Autorun.exe and the installation will start. Follow the instructions given and the game will install properly.
If this does not work, you will want to copy the contents of the game to your desktop and install from there.
To do this:
1. Double-click My Computer.
2. Right-click on the Local Disk C and choose Open.
3. Right-click inside the window and select New, and then Folder.
4. Name the folder Disk Images it is important that the name has a space in it.
5. Double-Click the new Disk Images folder to open it.
6. Right-click inside the window and select New, and then Folder.
7. Name this folder Disk1.
8. Repeat steps 6 and 7 for each game disk while substituting 'Disk1' for 'Disk2', 'Disk3', etc. It is important to note there must not be a space between "Disk" and the number. If there is only one disk, you may skip this step.
9. Insert Disk 1 of the game into your CD-ROM drive and if the autoplay starts, cancel it.
10. Double-click My Computer to open it.
11. Right-click on your CD-ROM drive and choose Open.
12. When you see the contents of the disk in the Window, click on Edit at the top of the window and choose Select All.
13. All the contents of the disk should now be highlighted, click on Edit at the top of the window again and choose Copy.
14. Open the Disk1 folder you created under C:\Disk Images; click on Edit at the top of the window and choose Paste. This will copy the contents of the CD into the Disk1 folder.
15. Repeat steps 9 through 14 for the other disks until you have copied each disk into its appropriate folder. If there is only one disk, you may skip this step.
16. Once the disks have been copied, remove ALL CDs from any drives.
17. Open the AutoRun folder.
18. Right-click on the file named autorun.cfg.
19. Choose to Open with Notepad.
20. Change the line DirectXVersion=9.0c to DirectXVersion=0.
21. Click File up the top left.
22. Then Save.
23. Close all windows so you can see the desktop.
24. Re-open the Disk Images folder.
25. Right-click on the file Autorun (has an EA logo) and click Open to install the game.
The game will now install from your windows desktop. Once it has been installed you may delete the Disk Images folder.
Edited by Salku69, 01 June 2007 - 02:03 AM.


 Sign In
 Create Account
