SMART virus
#1

 Posted 02 July 2012 - 05:19 PM

#2

 Posted 02 July 2012 - 09:39 PM

#3

 Posted 03 July 2012 - 11:34 AM

ran AVG this morning from cd, but nothing happened - computer still loops back to virus screen
Edited by hknh, 03 July 2012 - 11:54 AM.
#4

 Posted 03 July 2012 - 12:59 PM

For x64 bit systems download Farbar Recovery Scan Tool x64 and save it to a flash drive.
Plug the flashdrive into the infected PC.
Enter System Recovery Options.
To enter System Recovery Options from the Advanced Boot Options:
- Restart the computer.
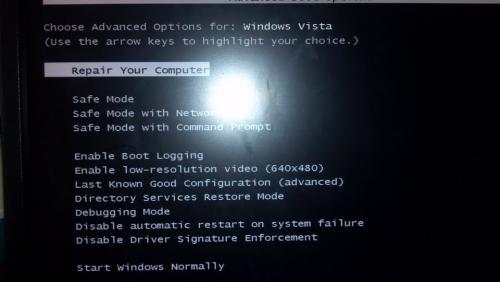
- As soon as the BIOS is loaded begin tapping the F8 key until Advanced Boot Options appears.
- Click on Repair your computer menu item.
- Select US as the keyboard language settings, and then click Next.
- Select the operating system you want to repair, and then click Next.
- Select your user account and click Next.
Startup Repair
System Restore
Windows Complete PC Restore
Windows Memory Diagnostic Tool
Command Prompt
- Select Command Prompt
- In the command window type in notepad and press Enter.
- The notepad opens. Under File menu select Open.
- Select "Computer" and find your flash drive letter and close the notepad.
- In the command window type e:\frst.exe (for x64 bit version type e:\frst64) and press Enter
Note: Replace letter e with the drive letter of your flash drive. - The tool will start to run.
- When the tool opens click Yes to disclaimer.
- Press Scan button.
- It will make a log (FRST.txt) in the flash drive. Please copy and paste it to your reply.
#5

 Posted 03 July 2012 - 01:13 PM

when I click on repair your computer, it turns black
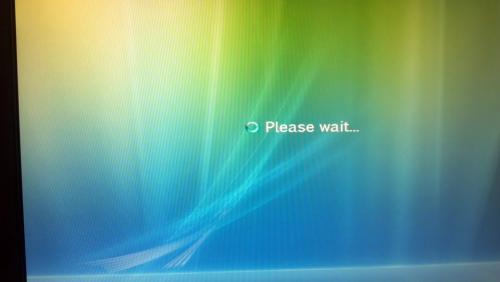
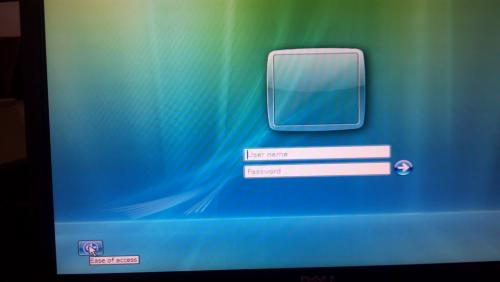
then microsoft corp is written - then the windows screen comes up - it shows a box that says other user - if I click on other user, it asks for username and password - which never existed - the bottom lefthas a symbol - if I hover it says ease of access, but will not do anything
#6

 Posted 03 July 2012 - 01:16 PM

#7

 Posted 03 July 2012 - 01:29 PM

#8

 Posted 03 July 2012 - 06:03 PM

Download GETxPUD.exe to the desktop of your clean computer
- Run GETxPUD.exe
- A new folder will appear on the desktop.
- Open the GETxPUD folder and click on the get&burn.bat
- The program will download xpud_0.9.2.iso, and upon finished will open BurnCDCC ready to burn the image.
- Click on Start and follow the prompts to burn the image to a CD.
- Next download driver.sh to your USB drive
- Also Download Query.exe to the USB drive. In your working computer, navigate to the USB drive and click on the Query.exe. A folder and a file, query.sh, will be extracted.
- Remove the USB & CD and insert them in the sick computer
- Boot the Sick computer with the CD you just burned
- The computer must be set to boot from the CD
- In some computers you need to tap F12 and choose to boot from the CD, in others is the Esc key. Please consult your computer's documentation.
- Follow the prompts
- A Welcome to xPUD screen will appear
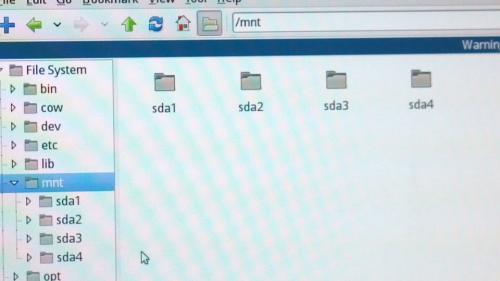
- Press File
- Expand mnt
- sda1,2...usually corresponds to your HDD
- sdb1 is likely your USB
- Click on the folder that represents your USB drive (sdb1 ?)
- Confirm that you see driver.sh that you downloaded there
- Press Tool at the top
- Choose Open Terminal
- Type bash driver.sh
- Press Enter
- After it has finished a report will be located on your USB drive named report.txt
- Then type bash driver.sh -af
- Press Enter
- You will be prompted to input a filename.
- Type the following:
Winlogon.exe
- Press Enter
- If successful, the script will search for this file.
- After it has completed the search enter the next file to be searched
- Type the following:
explorer.exe
- Press Enter
- After it has completed the search enter the next file to be searched
- Type the following:
Userinit.exe
- Press Enter
- After the search is completed type Exit and press Enter.
- After it has finished a report will be located in the USB drive as filefind.txt
- While still in the Open Terminal, type bash query.sh
- Press Enter
- After it has finished a report will be located in the USB drive as RegReport.txt
- Then type dd if=/dev/sda of=mbr.txt bs=512 count=1
Leave a space among the following Statements:
dd is the executable application used to create the backup
if=/dev/sda is the device the backup is created from - the hard drive when only one HDD exists
of=mbr.txt is the backup file to create - note the lack of a path - it will be created in the directory currently open in the Terminal
bs=512 is the number of bytes in the backup
count=1 says to backup just 1 sector
It is extremely important that the if and of statements are correctly entered. - Press Enter
- After it has finished a report will be located in the USB drive as mbr.bin
- Plug the USB back into the clean computer. Post the contents of the report.txt, filefind.txt and RegReport.txt in your next reply. The mbr.txt file must be attached to your reply as it is a hex file.
#9

 Posted 05 July 2012 - 10:19 PM

Please don't close the session - I need to buy new cds. I am trying....
#10

 Posted 05 July 2012 - 10:52 PM

#11

 Posted 21 July 2012 - 10:57 AM

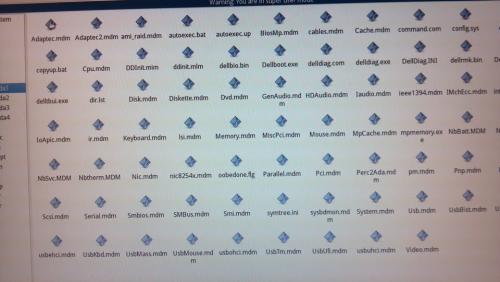
I burned the image to the cd and the other thing to the usb. I started th computer and hit file - I have problem at th sda part - I have sda 1-4. here is not sdb - Under sda1, there is a usb.mdm, but nothing happens if I click it.
#12

 Posted 21 July 2012 - 11:01 AM

#13

 Posted 21 July 2012 - 11:12 AM

#14

 Posted 21 July 2012 - 11:25 AM

Attached Files
#15

 Posted 21 July 2012 - 11:36 AM

Attached Files
Similar Topics
0 user(s) are reading this topic
0 members, 0 guests, 0 anonymous users
As Featured On:


 This topic is locked




 Sign In
 Create Account

