

Gateway nv55s windows 7
Started by
Gharney63
, Mar 05 2015 09:12 AM
#16

 Posted 06 March 2015 - 02:03 PM
Gharney63
- Topic Starter
-
- Member
-

- 18 posts
Member

#17
Posted 06 March 2015 - 04:22 PM
Gharney63
- Topic Starter
-
- Member
-
- 18 posts
Member
Downloaded sea tools for dos v2.23
Says no hard drive found
Says no hard drive found
#18
 Posted 07 March 2015 - 02:51 AM
phillpower2
-

- Global Moderator
-

- 24,774 posts
Mechanised Mod
It does look like the HDD itself has issues 
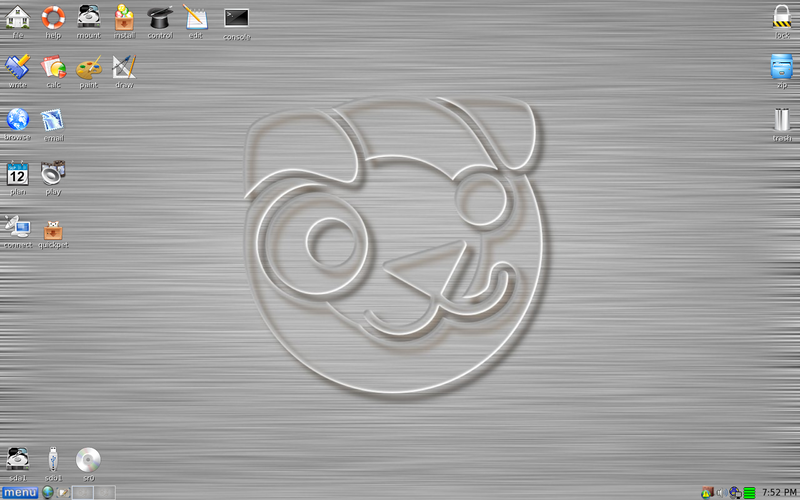
See if Puppy Linux can access the drive;
===================
***Required Hardware***
CD Burner (CDRW) Drive,
Blank CD,
Extra Storage Device (USB Flash Drive, External Hard Drive)
===================
1. Save these files to your Desktop/Burn Your Live CD:
Download BurnCDCC ISO Burning Software
There are instructions on how to boot from flash drive with puppy here; http://www.pendrivel...e-from-windows/
![]() BurnCDCC
BurnCDCC
![]() and navigate to the Puppy Linux ISO file you just downloaded
and navigate to the Puppy Linux ISO file you just downloaded
IMPORTANT: Adjust the speed bar to CD: 4x DVD: 1x
![]()
Puppy Linux Live CD will now be created
2. Set your boot priority in the BIOS to CD-ROM first, Hard Drive Second
(Usually shown during the "Dell" screen, or "Gateway" Screen)
CD-ROM 1st, Hard Drive 2nd
![]()
3. Recover Your Data
3a. Mount Drives
![]()
3b. Transfer Files.
For The Novice: The common path to your pictures, music, video, and documents folders for XP is: Documents and Settings >> All Users (or each individual name of each user, for Vista and above C:\Users\$USERNAME\[...]. CHECK All Names!) >> Documents >> You will now see My Music, My Pictures, and My Videos.
Remember to only click once! No double clicking! Once you drag and drop your first folder, you will notice a small menu will appear giving you the option to move or copy. Choose COPY each time you drag and drop.
YOU ARE DONE!!! Simply click Menu >> Mouse Over Shutdown >> Reboot/Turn Off Computer. Be sure to plug your USB Drive into another working windows machine to verify all data is there and transferred without corruption. Congratulations!
If Puppy cannot mount the drive it suggests that the drive is mechanically bad, please note that HDDs can fail due to lack of free storage space on them, do you happen to know how much free storage space was available on the drive before the issue first happened.
#19
Posted 08 March 2015 - 02:47 PM
Gharney63
- Topic Starter
-
- Member
-
- 18 posts
Member
I am running Quirky unicorn 6.2.1.91
Now what never work with linux
Now what never work with linux
#20
Posted 08 March 2015 - 03:32 PM
phillpower2
-
- Global Moderator
-
- 24,774 posts
Mechanised Mod
Sorry but not with you, can you explain what you mean for us.
#21
Posted 08 March 2015 - 03:59 PM
Gharney63
- Topic Starter
-
- Member
-
- 18 posts
Member
Sorry never used puppy before .right down I am at quick setup been trying to get the mouse to work
#23
Posted 09 March 2015 - 10:21 AM
Gharney63
- Topic Starter
-
- Member
-
- 18 posts
Member
I need to read up on it more in my spare time...(yeah right spare time)thanks for your help getting me this far
#24
Posted 09 March 2015 - 10:36 AM
phillpower2
-
- Global Moderator
-
- 24,774 posts
Mechanised Mod
You are most welcome 
Learn how to use Linux & you may never go back to Windows 
#25
Posted 09 March 2015 - 10:46 AM
Gharney63
- Topic Starter
-
- Member
-
- 18 posts
Member
I will...thanks again

#27
Posted 25 March 2015 - 04:16 PM
phillpower2
-
- Global Moderator
-
- 24,774 posts
Mechanised Mod
Have you made any progress with this Gharney63, an update would be appreciated.


Similar Topics
0 user(s) are reading this topic
0 members, 0 guests, 0 anonymous users
As Featured On:


 Sign In
 Create Account
