
Just trying Linux Puppy but it's prompting me to browse to an ISO file. What would that be and where would I find it?

Restore Win Vista after dban Darik's nuke and reboot on Acer Aspir
Started by
dreadpiratedazza
, Oct 27 2015 05:47 AM

#17

 Posted 28 October 2015 - 04:21 AM
phillpower2
-

- Global Moderator
-

- 24,749 posts
Mechanised Mod
Full instructions for Puppy below;
===================
***Required Hardware***
CD Burner (CDRW) Drive,
Blank CD,
Extra Storage Device (USB Flash Drive, External Hard Drive)
===================
1. Save these files to your Desktop/Burn Your Live CD:
Download BurnCDCC ISO Burning Software
There are instructions on how to boot from flash drive with puppy here; http://www.pendrivel...e-from-windows/
![]() BurnCDCC
BurnCDCC
![]() and navigate to the Puppy Linux ISO file you just downloaded
and navigate to the Puppy Linux ISO file you just downloaded
IMPORTANT: Adjust the speed bar to CD: 4x DVD: 1x
![]()
Puppy Linux Live CD will now be created
2. Set your boot priority in the BIOS to CD-ROM first, Hard Drive Second
(Usually shown during the "Dell" screen, or "Gateway" Screen)
CD-ROM 1st, Hard Drive 2nd
![]()
3. Recover Your Data
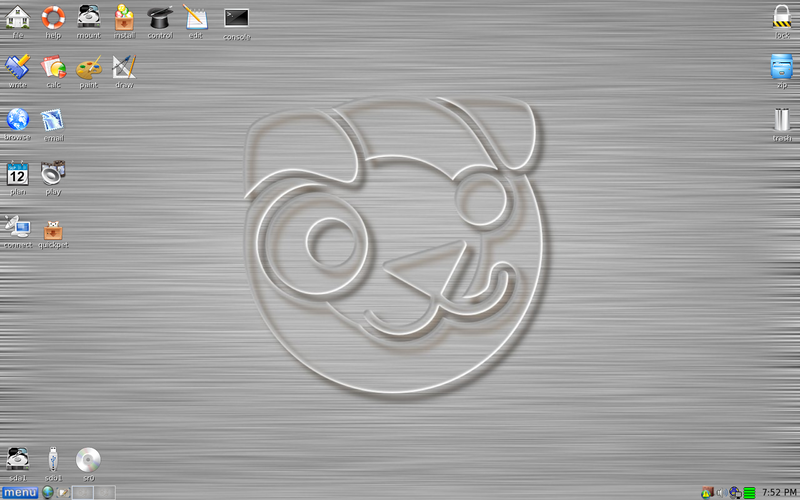
3a. Mount Drives
![]()
3b. Transfer Files.
For The Novice: The common path to your pictures, music, video, and documents folders for XP is: Documents and Settings >> All Users (or each individual name of each user, for Vista and above C:\Users\$USERNAME\[...]. CHECK All Names!) >> Documents >> You will now see My Music, My Pictures, and My Videos.
Remember to only click once! No double clicking! Once you drag and drop your first folder, you will notice a small menu will appear giving you the option to move or copy. Choose COPY each time you drag and drop.
YOU ARE DONE!!! Simply click Menu >> Mouse Over Shutdown >> Reboot/Turn Off Computer. Be sure to plug your USB Drive into another working windows machine to verify all data is there and transferred without corruption. Congratulations!
#18
Posted 28 October 2015 - 05:00 AM
dreadpiratedazza
- Topic Starter
-
- Member
-

- 42 posts
Member
Now, I get to 3a and when I click on 'mount drive' the only optical drive that comes up is the ATAPI DVD-no hard drive at all! It's the only drive recognised, not even the USB.
Stumped.
#19
Posted 28 October 2015 - 05:07 AM
phillpower2
-
- Global Moderator
-
- 24,749 posts
Mechanised Mod
when I click on 'mount drive' the only optical drive that comes up is the ATAPI DVD-
We dont want to mount an optical drive but the above suggests that the DVD drive is at least detected.
So there are no icons anywhere that are labelled sda1 or sda2.
It is odd but not impossible that the two HDDs have failed at the same time.
Are you ok with working inside of a computer.
#20
Posted 28 October 2015 - 05:15 AM
dreadpiratedazza
- Topic Starter
-
- Member
-
- 42 posts
Member
Let's have a go. It'll be interesting.
#21
Posted 28 October 2015 - 05:27 AM
phillpower2
-
- Global Moderator
-
- 24,749 posts
Mechanised Mod
So there are no icons anywhere that are labelled sda1 or sda2.
Can you confirm this for us first please.
#22
Posted 28 October 2015 - 05:54 AM
dreadpiratedazza
- Topic Starter
-
- Member
-
- 42 posts
Member
Yep, no SDAs anywhere on the screen.
#23
Posted 28 October 2015 - 06:36 AM
phillpower2
-
- Global Moderator
-
- 24,749 posts
Mechanised Mod
Please make a note of where anything that you disconnect needs to be reconnected to later.
With the computer and other hardware already powered down, disconnect the mains power lead and anything that is connected to the computer, screen, printer etc.
Press the power on button to get rid of any residual charge from within the system.
Remove the side of the case.
Ground yourself on a bare metal part of the case or PSU.
Remove the CMOS battery (see attachment below) press the power button again for a few seconds.
Disconnect the power and SATA cables from both HDDs.
Replace the CMOS battery, attach only the screen and keyboard to the computer, connect the computer and screen to the mains power and turn on the power, let us know the outcome.
#24
Posted 28 October 2015 - 07:38 AM
dreadpiratedazza
- Topic Starter
-
- Member
-
- 42 posts
Member
ok, done that. At reboot a new screen came up saying that IDE channel 0 Master and Slave none(on 2 separate lines). CMOS checksum error - defaults loaded.
I pressed F1 to continue. The usual error messages occurred as previously mentioned. Tried to reboot but couldn't get to Linux Puppy. Went back to setup menu and realised that I had disconnected the SATA and power cables to the DVD! I did this because I thought that there would be 2 sets of power and data cables. I reconnected the dvd SATA and power cables. Linux puppy loaded. I clicked on Mount again and the same thing happened: the ATAPI DVD was the only optical mentioned.
#25
Posted 28 October 2015 - 08:10 AM
phillpower2
-
- Global Moderator
-
- 24,749 posts
Mechanised Mod
To avoid confusion and any possible mishaps please only do the suggested steps.
ok, done that. At reboot a new screen came up saying that IDE channel 0 Master and Slave none(on 2 separate lines). CMOS checksum error - defaults loaded.
This means that no HDDs were detected.
I reconnected the dvd SATA and power cables. Linux puppy loaded. I clicked on Mount again and the same thing happened: the ATAPI DVD was the only optical mentioned.
As per my reply #19 we don`t want to mount the optical drive, you cannot in any event as they do not store data on them.
So that we are clear on where we are up to can you tell us if both HDDs are still completely disconnected and have you reset the time and date in the BIOS.
#26
Posted 28 October 2015 - 08:23 AM
dreadpiratedazza
- Topic Starter
-
- Member
-
- 42 posts
Member
My problem is that the HDDs are sitting behind the DVD. I've removed one set of SATA and power cables. Should there be another set? I'll have another closer look.
#27
Posted 28 October 2015 - 08:27 AM
phillpower2
-
- Global Moderator
-
- 24,749 posts
Mechanised Mod
Each HDD will have its own SATA and power cable, remove the DVD drive from the computer altogether if you need to.
have you reset the time and date in the BIOS.
#28
Posted 28 October 2015 - 08:31 AM
dreadpiratedazza
- Topic Starter
-
- Member
-
- 42 posts
Member
Yep, reset the time. Just looking for this second pair of cables.
#29
Posted 28 October 2015 - 08:38 AM
phillpower2
-
- Global Moderator
-
- 24,749 posts
Mechanised Mod
Time and date correct, acknowledged, this would have caused a checksum error on its own if not set correctly.
If it helps any, you can just disconnect the hard to reach HDD from the SATA port on the MB.
#30
Posted 28 October 2015 - 08:40 AM
dreadpiratedazza
- Topic Starter
-
- Member
-
- 42 posts
Member
That did occur to me. At the moment I can't see the other data cable's source from the motherboard.


Similar Topics
0 user(s) are reading this topic
0 members, 0 guests, 0 anonymous users
As Featured On:


 Sign In
 Create Account
