Jump to content

Welcome to Geeks to Go - Register now for FREE

Need help with your computer or device? Want to learn new tech skills? You're in the right place!
Geeks to Go is a friendly community of tech experts who can solve any problem you have. Just create a free account and post your question. Our volunteers will reply quickly and guide you through the steps. Don't let tech troubles stop you. Join Geeks to Go now and get the support you need!

How it Works Create Account
Photo

Installing new SSD (Resolved)


Best Answer johnb69 , 12 February 2017 - 12:15 PM

Hi Guys, I've been using the PC for a while now and all seems to be running OK. I can't thank you guys enough for all the help you've given me, especially iammykyl for the help and patien... Go to the full post »


  • Please log in to reply

#46
phillpower2

phillpower2

    Mechanised Mod

  • Global Moderator
  • 24,772 posts

Hello John,


Took out the battery and booted with the SSD and got the attached photo screen


Did you as suggested remove the CMOS battery while both the SSD and HDD were disconnected.


NB: The second screenshot shows that the time and date needs to be reset as will the boot sequence.


Is the fan failure message something that you have seen before.


  • 0

Advertisements


#47
iammykyl

iammykyl

    Tech Staff

  • Technician
  • 7,659 posts

Hi Guys:oops: Rainbow People???

If we don't get a good result after completing Phillpower2's instructions, I think we should start again.


Has required Data on the existing HDD been backed up?


1.   Scan and repair the drive, OR

2.   Factory Restore,  if the partition is available.


Connect the HDD to Port 0.

Connect the SSD to Port 1. > Boot, hoping we don't get errors.

Use Diskpart to clean the SSD, leaving it unallocated.


Use Macrium Reflect to clone the SSD, > http://www.macrium.c...eflectfree.aspx

Tutorial, >  http://knowledgebase.../Cloning a disk

Swap the drives and test. 


  • 0

#48
johnb69

johnb69

    Member

  • Topic Starter
  • Member
  • PipPipPip
  • 103 posts

Hi phillpower2,


I did remove the battery with both drives disconnected.


Should I have put the battery back in before starting?


I haven't seen the fan thing before, I think it's new!


Thanks again and once again, please excuse my non PC daftness, I know how frustrating this must be for you guys!


John


  • 0

#49
iammykyl

iammykyl

    Tech Staff

  • Technician
  • 7,659 posts

Thanks for the update John.

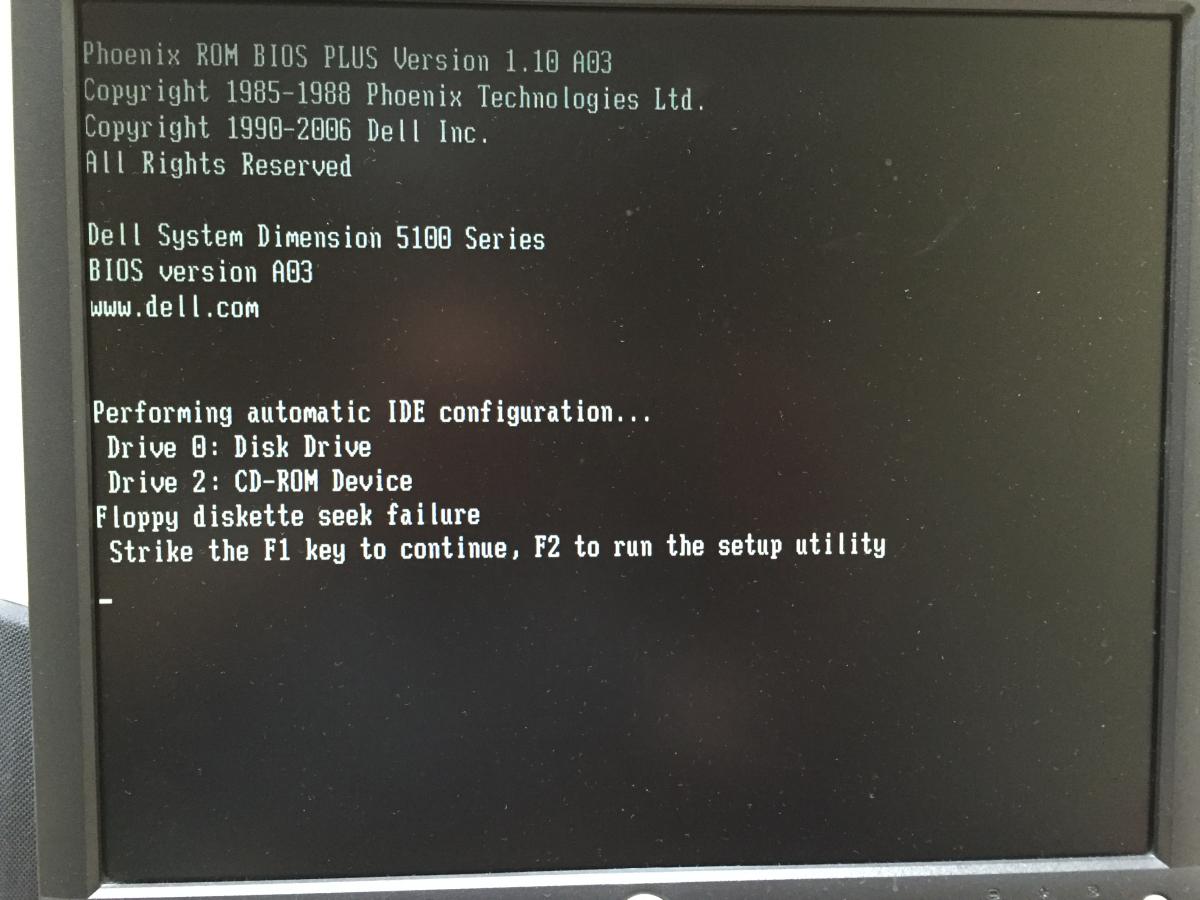
Yes, the battery needs to be installed, hence the error massage. "Complementary metal-oxide semiconductor, or CMOS, typically refers to a battery-powered memory chip in your computer that stores startup information. Your computer's basic input/output system (BIOS) uses this information when starting your computer.as it powers the CMOS".


Sorry, but a bit of messing about again.   Please do the following.

Step 1.  With the PSU off, > install the CMOS battery, >  Connect only the SSD to Port 0, > check that all fans are still properly plugged in, > Turn on the PSU > start the computer and enter Setup.

Select Time and Date, update, >  Select the Maintenance tab, > Select Load Default Setting, > Save > select Yes or OK, > press Enter.

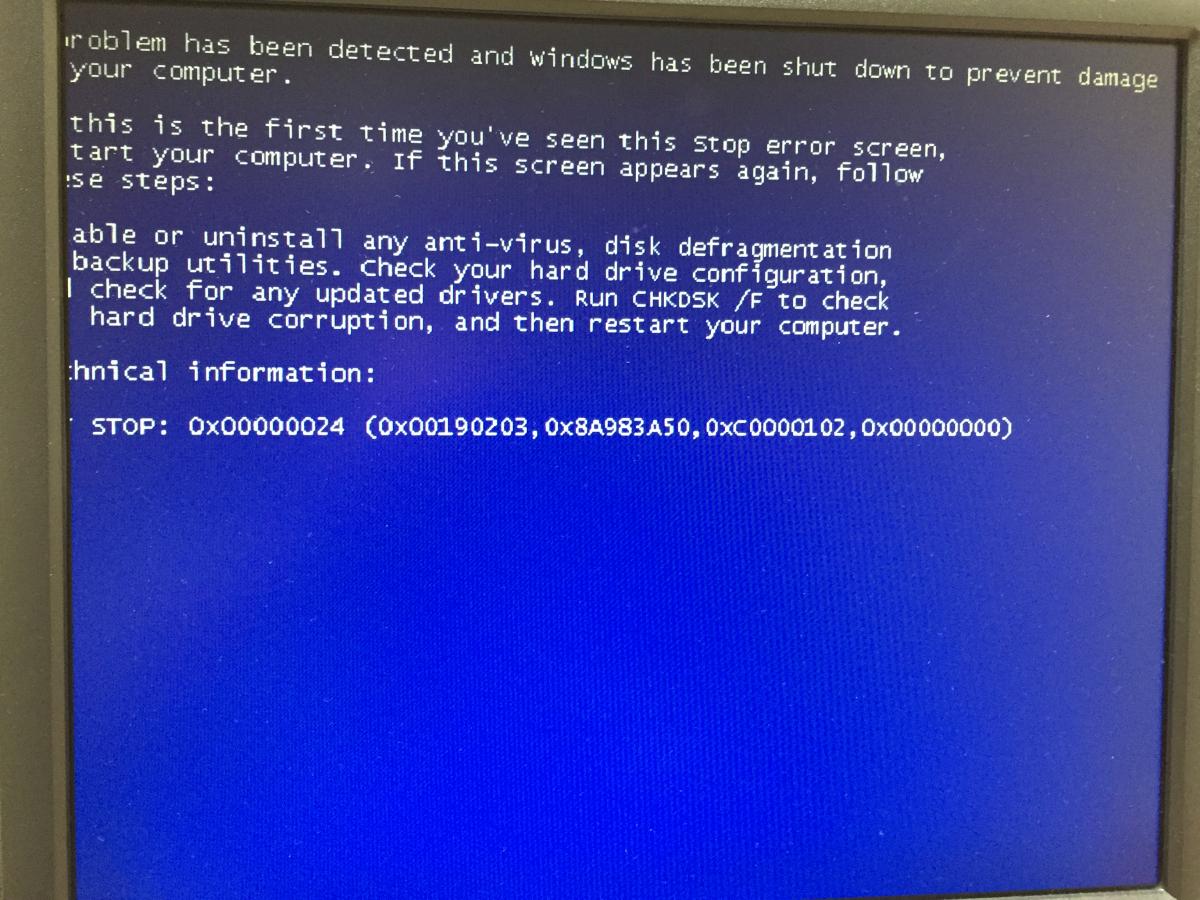
If Boot successful, go to step 2. If the Boot fails, let us know the error then shutdown. and go to step 3.


Step 2.   If a successful Boot.   Carry out Phill's instructions, "restart the computer, when the Dell BIOS splash screen appears press and hold the <Ctrl> key on the keyboard, press the <F11> key, then release them both at the same time, let us know what if anything happens,"   Do not proceed further, just shutdown.


Step 3.   Turn off the PSU, > swap the SSD for the HDD, connected to Port 0.  

Turn on the PSU, > start the computer.

If the Boot is successful, > go to step 2, and report.

If the Boot fails, note the error message and shutdown. 


  • 0

#50
johnb69

johnb69

    Member

  • Topic Starter
  • Member
  • PipPipPip
  • 103 posts

Hi again guys,


Tried step 1 and got the attached screens (first 3 pics)


I then tried step 3 and got the attached screen ( pic no4)


Thanks guys 

John

Attached Thumbnails

  • IMG_1710.JPG
  • IMG_1711.JPG
  • IMG_1712.JPG
  • IMG_1713.JPG

  • 0

#51
iammykyl

iammykyl

    Tech Staff

  • Technician
  • 7,659 posts

Sorry for the lack of response, I missed your last reply.

Q. Is there Data on the HDD you want to save?

Q. Have you seen the fan failure again?


You performed step #1, SSD installed and looks like not detected.  Step #3 with the HDD installed still failed.

1.   Start the computer, > enter Setup, > go to drives tab, > select Diskette drives,

> select USB, > set to Disable

> select Internal, > set to Disable

> select Internal, > set to Disable

The first top entry should display off, if not, > select it and turn off, > go Exit Menu  > Save setting, > Confirm, Press Enter.

If you get the error screen#1, Press F1 to continue, If you then get the next Error screen#2, select Safe Mode with Command Prompt. > press Enter,

If the CMD screen opens, type chkdsk /f > press Enter. 

follow any prompts displayed. 


  • 0

#52
johnb69

johnb69

    Member

  • Topic Starter
  • Member
  • PipPipPip
  • 103 posts

Hi guys,


Don't worry about the time getting back to me, I appreciate all the help you guys are giving me!


I got to diskette drives and set it to off.


Seems to be booting up OK now with no errors or fan failures coming up!  :yeah:


Done the Ctrl key F11 thing and a screen comes up with a DELL PC restore by Symantec comes up, giving me a restore choice or a reboot choice.


I then shut the PC down.


I'd like to keep my family pics from the HDD drive.


Thanks

John


  • 0

#53
iammykyl

iammykyl

    Tech Staff

  • Technician
  • 7,659 posts

That's great news.

For backup, please read, > http://www.dell.com/...en/04/SLN116133

I would use a 2GB USB stick.   When finished, explore the stick to make sure the Data has been backed up and is readable.

Important, remember to use the Safely Remove Hardware whenever you remove the USB stick. I would use a 2GB USB stick.  


Let us know when it is done.


Good luck. 


  • 0

#54
johnb69

johnb69

    Member

  • Topic Starter
  • Member
  • PipPipPip
  • 103 posts

Hi there,


Do you mean me to choose restore and back up from the choices I get from the screen after the Ctrl key F11 bit or am I just backing up the pictures I want to keep?


Thanks

John


  • 0

#55
iammykyl

iammykyl

    Tech Staff

  • Technician
  • 7,659 posts

Hi there,

Do you mean me to choose restore and back up from the choices I get from the screen after the Ctrl key F11 bit 


NO.   For the moment, just use the XP backup and transfer wizard and post back when it is done.   It will backup all your user data, including Your Pictures.   After you have used the Dell F11 Factory Restore,   You can select what files you want to keep from the XP backup. 


  • 0

Advertisements


#56
johnb69

johnb69

    Member

  • Topic Starter
  • Member
  • PipPipPip
  • 103 posts

Thanks for that, I'll let you know how I get on!


John


  • 0

#57
iammykyl

iammykyl

    Tech Staff

  • Technician
  • 7,659 posts

:thumbsup: 


  • 0

#58
johnb69

johnb69

    Member

  • Topic Starter
  • Member
  • PipPipPip
  • 103 posts

Hi,


Tried it with an 8GB USB stick but it ran out of space. It asked me to insert another disk into the drive so I put another 2 GB one in but it it came up 'the disk you inserted is not the correct one'.


Is there a way I can find out how much space I need before I start?


Thanks

John


  • 0

#59
johnb69

johnb69

    Member

  • Topic Starter
  • Member
  • PipPipPip
  • 103 posts

IMG_1734.JPG Hi ,

I cancelled the operation as it wasn't letting me transfer any data to anything, I also tried disks.


I tried looking on the USB stick to see what it had saved bu couldn't get into it. It saved as picture attached.


Thanks

John


  • 0

#60
iammykyl

iammykyl

    Tech Staff

  • Technician
  • 7,659 posts

Don't know why you got images instead of folder.   Just tired it on this old rig, worksOK.

There is know way I can see to see the size of selected files before the write process starts.   letgs's try a differnt way of selting.


in the window that op[ens after you have selected the destination, USB stick,

In the window that opens, > tick the box, "Let me selct custom,,,,> click next.

> in the left side of the window that open, left click Accessibility, > In the right window, > click Remove.

perform the same actions for the other entries except,


Internet Explorer Settings,

Outlook Express,

My Documents,

My Pictures,


> click Next. 

,


  • 0


Similar Topics

0 user(s) are reading this topic

0 members, 0 guests, 0 anonymous users

As Featured On:

Microsoft Yahoo BBC MSN PC Magazine Washington Post HP