If you have your Windows XP disk- Insert your Windows XP disk into your computer and reboot
- Make sure the PC is set to run from the CD as the primary boot device.
NOTE: You do this by setting your PC to boot to the CD-ROM in BIOS (enter bios by pressing f1, f2 or del key during memory count up, then search for boot order, and set the CD as the first boot device) - When the PC boots, it will boot from the CD...after the first several screens load, you will be given a choice to choose R for Recovery Console. You will be asked to log in to the operating system to be repaired type the number corresponding to that operating system (usually 1).
NOTE: For Windows XP Home, there is not password, just hit ENTER. For Windows XP pro, ask whomever set up the machine what password they used.
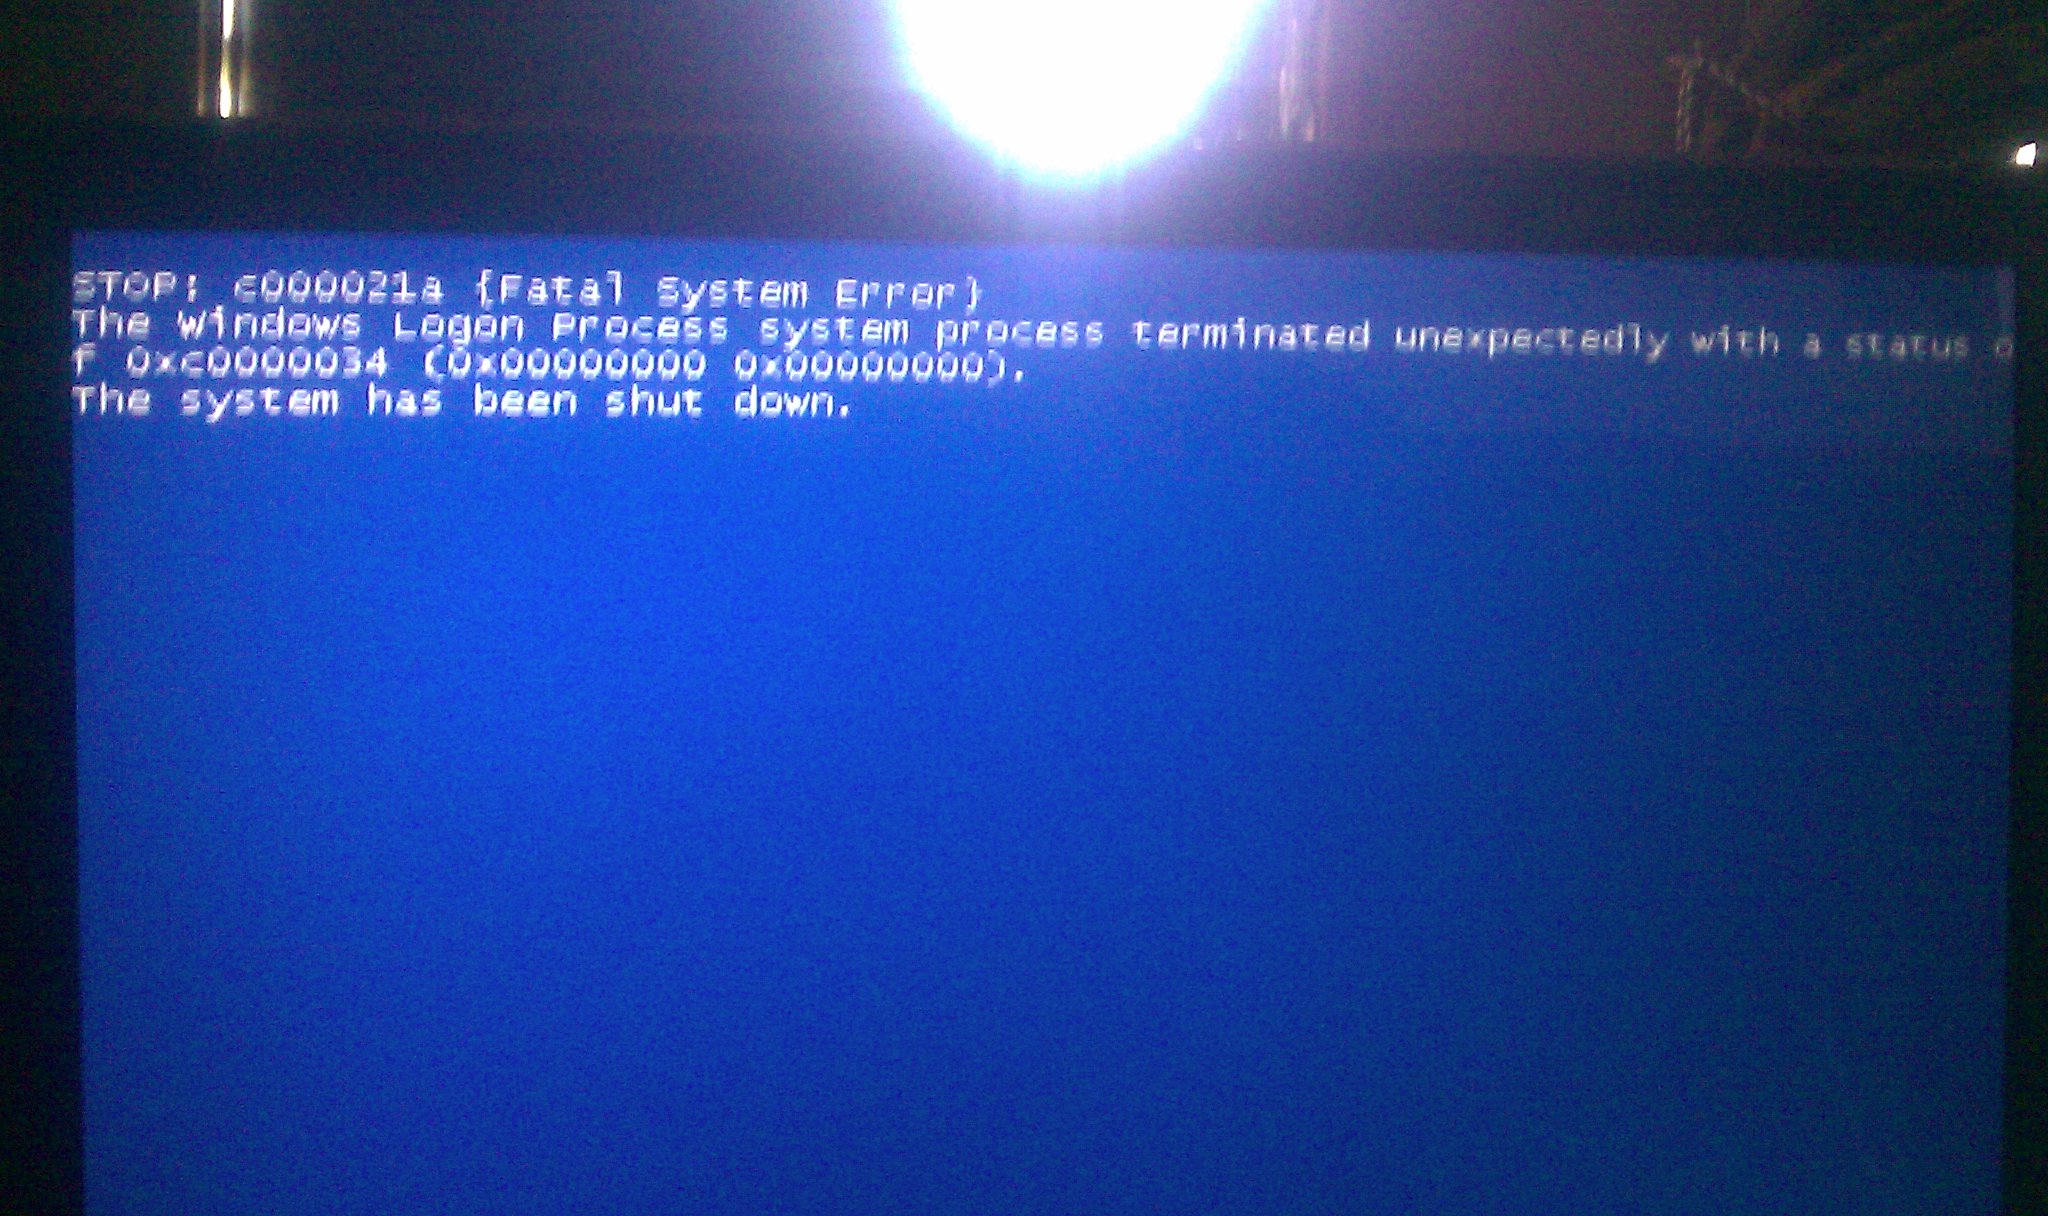
When you see the Recovery console
C:\WINDOWS prompt continue to Section 3 ("System Restore")
If you DO NOT have your Windows XP disk- Please create a new folder on your hard drive called RecoveryDisk
- Download recovery_console_cd.zip and unzip it to the newly created RecoveryDisk folder.
- Download the correct floppy disk setup package for your operating system from Microsoft and save it to the RecoveryDisk folder;
XP Home Original: Here
XP Pro Original: Here
XP Home SP1: Here
XP Pro SP1: Here
XP Home SP2: Here
XP Pro SP2: Here - Rename the downloaded file to Bootdisk.exe
- Double click the RecoveryCD.bat file and follow the instructions.
- When you get asked if you want to burn a CD, type y and hit enter.
- A pop-up should come up, please click on Close
This just created a file called
XPRC.ISO which is located in the Recovery Disk folder.
Then please download
MagicISO and install it.
Start MagicISO. You should see a window informing you about the full version of MagicISO.
In the bottom right select
Try It! and the program will open.
Next, we'll need to burn the newly created image to a disk that we can use to fix the problem.
- Put a blank CD-R disk in your CD burner and close the tray. If an AutoPlay window opens, close it.
- Click on Tools and select Burn CD/DVD with ISO.... A window will appear.
- Click on the little folder to the right of CD/DVD Image File then navigate to the newly created XPRC.ISO Image file and click Open.
- In the CD/DVD Writing Speed drop-down menu choose the 8X setting.
- Under Format make sure that Mode 1 is selected.
- And finally, click on the Burn it! button to burn XPRC.ISO to disk.
Once the disk is burned, put it in the machine you want to fix and restart it.
Boot to the CD just as you would with a Windows XP disk.At the
Welcome to Setup screen, press
R to enter the Recovery Console.
Choose the installation to be repaired by number (usually 1) and press
Enter.
When you are asked for the Administrator password, enter the password or leave it blank (default) and press
Enter.
Section 3: System Restore- When you get to the recovery console prompt, type
CD \
- Press Enter
- Type
cd system~1\_resto~1
- Press Enter
- Type
dir
- Press Enter
After you press enter you will see a list of folders (like rp1, rp2) If the list of restore points has more than one page then press the Enter key untill you reach the end of the list- Type
cd rp {number of the second to last folder in the list}
Note: Example: cd rp9, if rp9 is the second to the last restore point where the last restore point no. is 10 - Press Enter
- Type
cd snapshot
- Press Enter
- Type
copy _registry_machine_system c:\windows\system32\config\system
- Press Enter
- Type
copy _registry_machine_software c:\windows\system32\config\software
- Press Enter
- Type
Exit
- Press Enter
Your PC will reboot.
If you get an access denied error when doing the above, then do the following at the recovery console:
Your PC will reboot, go back into the Recovery Console and start from the beginning
If you still cannot get access in anyway to your installation in the recovery console then your SAM database files are corrupt. There is no way you can restore these with the recovery console. You may need to do a fresh install


 Sign In
 Create Account
