

Mobo upgrading
Started by
heartgrave
, Jul 27 2012 11:53 AM
#76

 Posted 20 September 2012 - 01:57 PM
phillpower2
-

- Global Moderator
-

- 24,780 posts
Mechanised Mod

#77
Posted 20 September 2012 - 02:07 PM
heartgrave
- Topic Starter
-
- Member
-

- 488 posts
Member
Yes the CD is yours and as long as the product key provided with the disk is not used on another computer you can use the disk for a fresh install but to install it on another machine would require the purchase of a new product key.
Sweet! That is fine with me! Thanks so much again! I will let you know later when I get the parts in!
#78
Posted 20 September 2012 - 02:30 PM
phillpower2
-
- Global Moderator
-
- 24,780 posts
Mechanised Mod
You are welcome and we look forward to hearing back from you when you are up and running, any questions along the way don`t hesitate to give us a shout.
#79
Posted 27 September 2012 - 04:29 PM
heartgrave
- Topic Starter
-
- Member
-
- 488 posts
Member
I will be ordering the parts tonight. Including Windows 7. Just so I am not missing anything, what steps do I take once the parts are in, to get windows 7 on the HDD. Anything I must do before I put the parts in?
#80
Posted 28 September 2012 - 02:35 AM
phillpower2
-
- Global Moderator
-
- 24,780 posts
Mechanised Mod
I will be ordering the parts tonight. Including Windows 7. Just so I am not missing anything, what steps do I take once the parts are in, to get windows 7 on the HDD. Anything I must do before I put the parts in?
Now you have started me off on a spring cleaning frenzy

No nothing major to do other than cleaning out any heat trapping dust inside the case.
If you have not already done so read the tutorial provided courtesy of Troy and Artellos respectively http://www.geekstogo...r-own-computer/ read all manuals before you start and ask any questions here that you may have before proceeding.
Please note that it is recommended that you do a bare-bones set-up outside of the case first to ensure that all items are working correctly, please see my canned text below for how to do this;
Can I ask that you update us with the list of parts that you finally ordered

How to do a barebones set-up on a piece of cardboard (make sure it is larger than the MB) only connect the PSU, the HDD, GFX card/screen, 1 stick of Ram and the keyboard.
IF your MB doesn`t have a power test switch you will then need to short out the 2 power on pins on the MB header to get the PSU to activate, you can use a small flat bladed screwdriver or a paper clip bent into a U shape, this is perfectly safe if you do not touch anything else, the idea is to see if we can get a BIOS screen if you do you can then add one component at a time.
You must power down and remove the power cord from the wall before adding another component,
#81
Posted 28 September 2012 - 01:33 PM
heartgrave
- Topic Starter
-
- Member
-
- 488 posts
Member
I ordered the CPU, MB, RAM and Windows 7. All the parts from http://pcpartpicker.com/p/ah2y
Now with what you said about the Barebones setup, the MB header, I do not see any power test buttons on the MB, I see alot of pins but none look like much of anything. It might be that I do not know what a MB header is though?
I read over the link you provided which shows how to put the parts in. I am ok with doing all that. I just do not know what to do with the software on the HDD before or after installing the new parts.
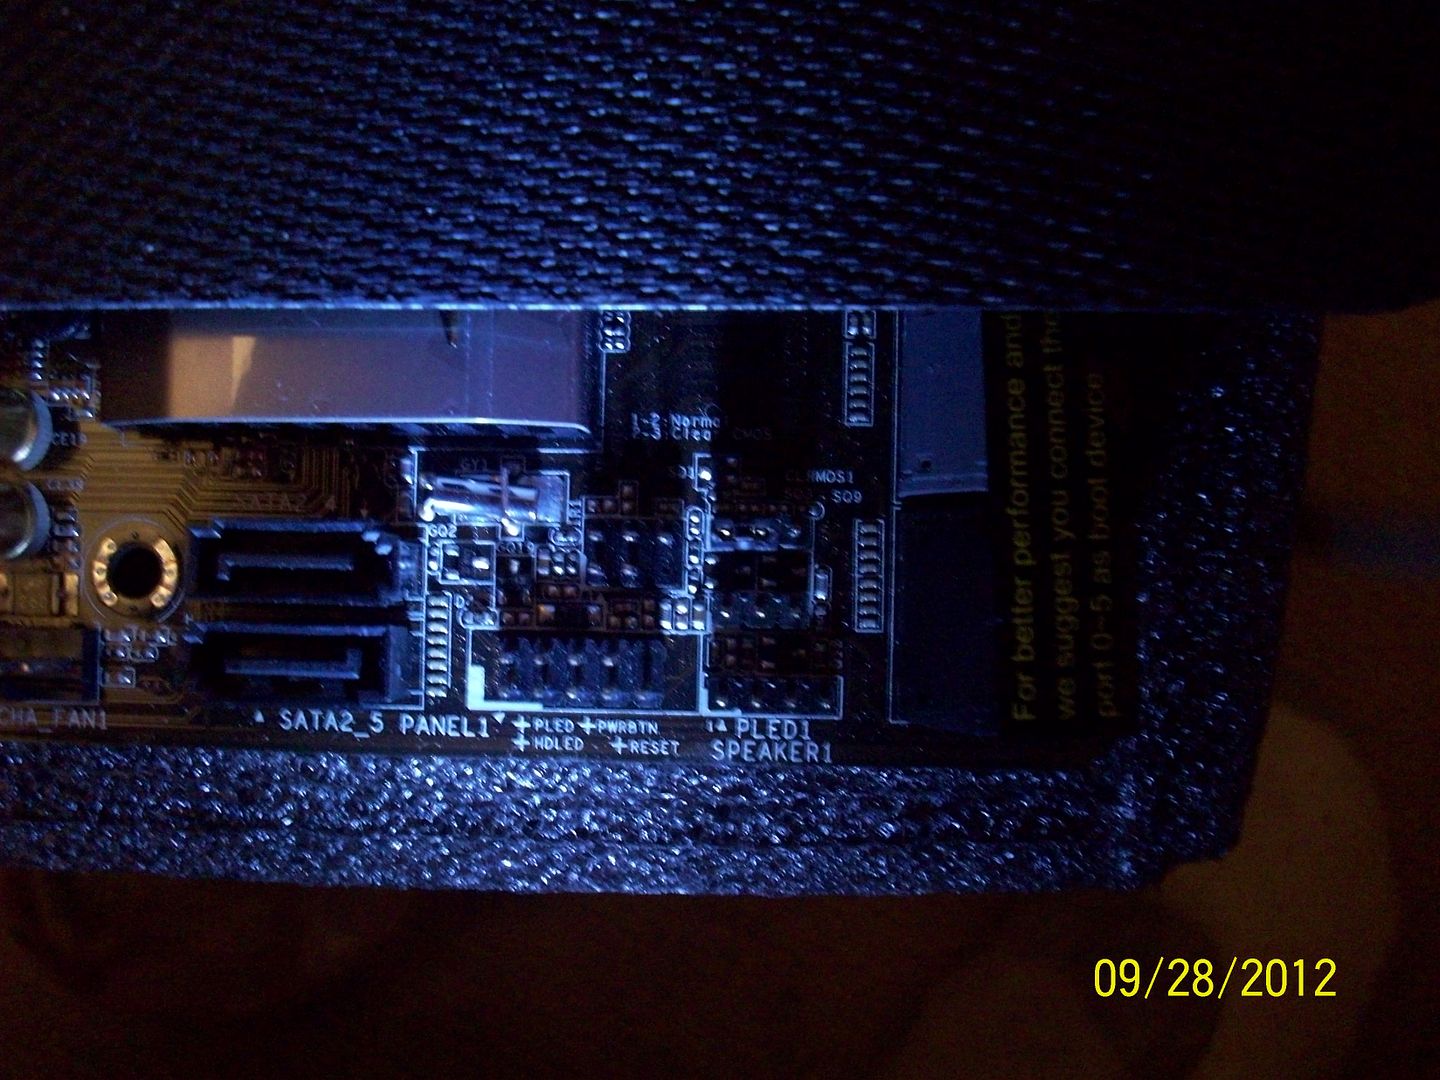
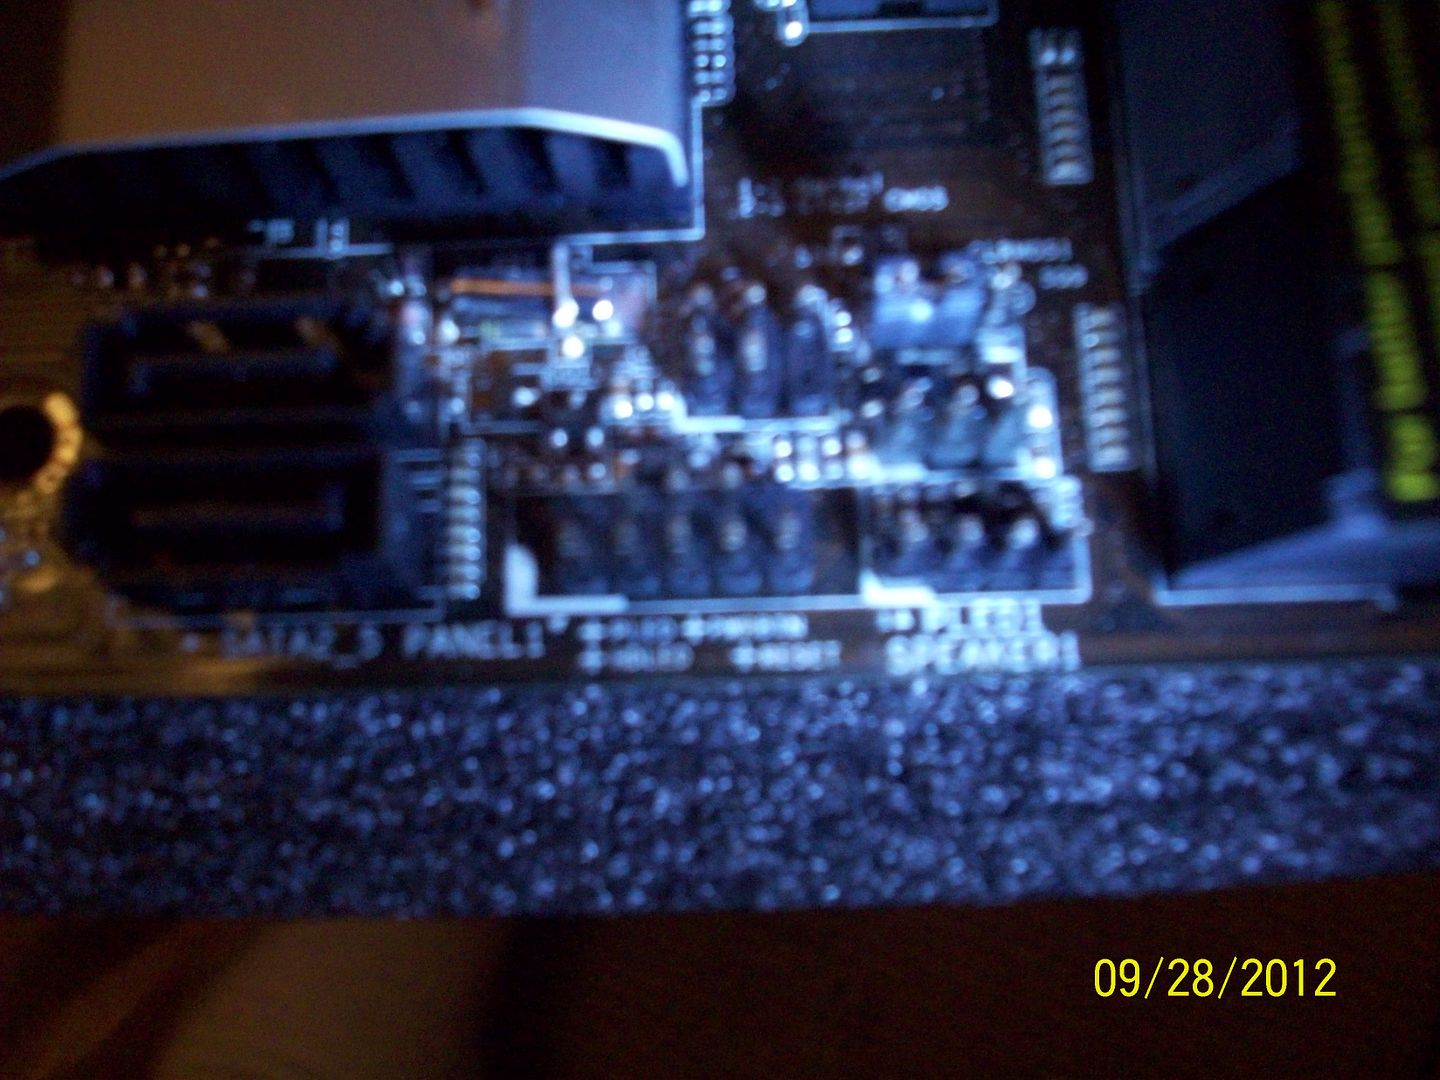
Here are some pictures on my MB. Tell me if I am in the right spot and what pins to "Short out"
Now with what you said about the Barebones setup, the MB header, I do not see any power test buttons on the MB, I see alot of pins but none look like much of anything. It might be that I do not know what a MB header is though?
I read over the link you provided which shows how to put the parts in. I am ok with doing all that. I just do not know what to do with the software on the HDD before or after installing the new parts.
Here are some pictures on my MB. Tell me if I am in the right spot and what pins to "Short out"
Edited by heartgrave, 28 September 2012 - 02:12 PM.
#82
Posted 29 September 2012 - 05:00 AM
phillpower2
-
- Global Moderator
-
- 24,780 posts
Mechanised Mod
Yes your pictures show that you have the correct pins for that board, see the example .jpeg below.
To install the operating system and MB drivers etc you will need to enter the BIOS on first boot by tapping the appropriate key, possibly the Del or F8 key and then change the boot priority to DVD/CD drive first and HDD second, see the canned text below for guidance;
To change Boot Sequence in your BIOS;
Reboot the system and at the first post screen (where it is counting up memory) start tapping the DEL button
This will enter you into the BIOS/CMOS
Find the Advanced area and click Enter
Look for Boot Sequence or Boot Options and highlight that click Enter
Now highlight the first drive and follow the directions on the bottom of the screen on how to modify it and change it to CD drive
Change the second drive to the C or Main Drive
Once that is done then click F10 to Save and Exit
You will prompted to enter Y to verify Save and Exit. Click Y and the system will now reboot with the new settings.
While you are in the BIOS you will also need to set the time and date and again save the new settings (F10) and then Y to accept the changes.
Hope this helps, keep us posted and any further questions give us a shout.
#83
Posted 29 September 2012 - 01:44 PM
heartgrave
- Topic Starter
-
- Member
-
- 488 posts
Member
Looking at the manual, it shows me which pins are which, sorry! Is this step even necessary? You mentioned earlier once I get a BIOS screen I start adding the parts... will I be prompted to add them or just I just put em all at once and continue?
Edited by heartgrave, 29 September 2012 - 01:47 PM.
#84
Posted 29 September 2012 - 02:39 PM
phillpower2
-
- Global Moderator
-
- 24,780 posts
Mechanised Mod
Yes as this will activate the PSU so that you can make sure that all parts are working before you go to the trouble of putting them in the case only to find there is a problem.Looking at the manual, it shows me which pins are which, sorry! Is this step even necessary?
You should only have a second stick of Ram to add so please do exactly as detailed below and hopefully you will only need to power down the system once to add the second Ram stick to make that it also functions correctly;You mentioned earlier once I get a BIOS screen I start adding the parts... will I be prompted to add them or just I just put em all at once and continue?
How to do a barebones set-up on a piece of cardboard (make sure it is larger than the MB) only connect the PSU, the HDD, GFX card/screen, 1 stick of Ram and the keyboard.
IF your MB doesn`t have a power test switch you will then need to short out the 2 power on pins on the MB header to get the PSU to activate, you can use a small flat bladed screwdriver or a paper clip bent into a U shape, this is perfectly safe if you do not touch anything else, the idea is to see if we can get a BIOS screen if you do you can then add one component at a time.
You must power down and remove the power cord from the wall before adding another component.
#85
Posted 01 October 2012 - 03:58 AM
heartgrave
- Topic Starter
-
- Member
-
- 488 posts
Member
Deleted
Edited by heartgrave, 02 October 2012 - 01:05 PM.
#86
Posted 02 October 2012 - 02:21 AM
heartgrave
- Topic Starter
-
- Member
-
- 488 posts
Member
Deleted
Edited by heartgrave, 02 October 2012 - 01:04 PM.
#87
Posted 02 October 2012 - 05:57 PM
heartgrave
- Topic Starter
-
- Member
-
- 488 posts
Member
Ok so everything is in and working great! Thanks much for all the help! The only problem I can see is the power button light on my computer... it used to be really bright blue like a LED flashlight and it would go orange if the computer was sleeping or whatever. Now its permanently orange?
Edited by heartgrave, 02 October 2012 - 08:39 PM.
#88
Posted 03 October 2012 - 07:21 AM
phillpower2
-
- Global Moderator
-
- 24,780 posts
Mechanised Mod
Have you double checked that the front case switch is connected to the correct pins on the MBs panel header.
You are welcome BTW
You are welcome BTW
#89
Posted 20 October 2012 - 06:49 PM
heartgrave
- Topic Starter
-
- Member
-
- 488 posts
Member
That I did not but what I did was match up the pins on the MB to the holes on each wire and from what I could see every plug was diff and each had its own spot on the MB. either way it dont matter to me I like it being orange...trying to sleep in the room with that bright LED was annoying. It would light up the whole room. If you think it will not have any bad effects on the MB or CPU, I will not touch it.
Edited by heartgrave, 20 October 2012 - 06:50 PM.
#90
Posted 21 October 2012 - 03:47 AM
phillpower2
-
- Global Moderator
-
- 24,780 posts
Mechanised Mod
Not all MB headers are the same, some will have pins that match the requirements of the case front switches and some will not, you must ensure that you do not connect a + cable to a ground on the MB as it can have drastic consequences, many case wire connections have what they are printed on the end connection and examples are pwr sw (power switch) HDD LED (indicates when the HDD is in use) PLED (indicates that there is power present) please see the .jpegs below which relate to your MB;


Similar Topics
0 user(s) are reading this topic
0 members, 0 guests, 0 anonymous users
As Featured On:


 Sign In
 Create Account
