

Error messages Preparing automatic repair
Started by
sramsey2014
, Sep 20 2014 04:42 AM
#1

 Posted 20 September 2014 - 04:42 AM
sramsey2014
-
- Member
-

- 15 posts
Member

#2
Posted 20 September 2014 - 05:05 AM
terry1966
-

- Member
-
- 1,143 posts
Member 1K
could well be the hard drive received some physical damage in the fall and some data was corrupted, so this data needs to be re-written to other undamaged parts of the drive and why it's now trying to repair itself.
i think i'd let it run overnight if needed and see if it can fix itself, if not then you may need to reinstall the operating system or even replace the hard drive and install the operating system.
you can always test the laptop by using another pc to download and create a linux live cd and then boot that on your laptop to check everything else works fine and it is just a hard drive/os problem like i believe.

#3
Posted 20 September 2014 - 05:24 AM
phillpower2
-

- Global Moderator
-

- 24,780 posts
Mechanised Mod
 sramsey2014
Can you tell us the model name or number of the notebook and if there is any data on the hard drive that you would like to try and back up, there is a chance that the hard drive (HDD) is damaged and may need to be replaced.
NB: So that I can confirm that you have received notification of my reply to your topic please click on the Follow this topic tab at the upper right corner of the page.
#4
Posted 20 September 2014 - 05:52 AM
sramsey2014
- Topic Starter
-
- Member
-
- 15 posts
Member
My laptop is a Gateway. Model number is that the S/N number? NXY1UAAO16237111E21601. The SNIDE:23707011416.
#5
Posted 20 September 2014 - 05:54 AM
sramsey2014
- Topic Starter
-
- Member
-
- 15 posts
Member
I couldn't find anymore numbers.
#6
Posted 20 September 2014 - 06:02 AM
phillpower2
-
- Global Moderator
-
- 24,780 posts
Mechanised Mod
Sorry but that is not what we need, alternatively can you tell us what OS you are using XP, Vista, Windows 7/8 or 8.1.
What about any data on the HDD, is there anything that you would like to try and back up before we continue.
Does your notebook have a DVD/CD drive.
#8
Posted 20 September 2014 - 06:09 AM
sramsey2014
- Topic Starter
-
- Member
-
- 15 posts
Member
Sorry forgot about the data. Ido but have data that I would like to keep if possible. But if necessary I can do with out it.
#9
Posted 20 September 2014 - 06:11 AM
sramsey2014
- Topic Starter
-
- Member
-
- 15 posts
Member
Yes it does have a DVD/CD Drive, I will try to find the model number. Can you tell me where to look for it?
#10
Posted 20 September 2014 - 06:13 AM
sramsey2014
- Topic Starter
-
- Member
-
- 15 posts
Member
I found this number NE56R31u. Could this be it? Everything else is in a foreign language.
#11
Posted 20 September 2014 - 06:23 AM
phillpower2
-
- Global Moderator
-
- 24,780 posts
Mechanised Mod
Because Windows 8 boots up so much faster it is hard to get into Safe Mode but it can be done, restart the notebook keep the Shift key pressed down and continually tap the F8 key, you may need to try restarting the notebook more than once before getting into Safe Mode, if successful post back before doing anything else please.
Aye that could be it but for now please refer only to the above then post back, if no luck I will provide the steps to try and back up your data before we go any further with testing etc.
Tip
If you have something to add while waiting for a reply use the edit tab – bottom right of the dialogue input box and this will ensure that no information that you provide is overlooked (this can happen if your topic has more than one page) thank you for understanding.
#12
Posted 20 September 2014 - 08:11 AM
sramsey2014
- Topic Starter
-
- Member
-
- 15 posts
Member
I tried holding the shift f8 key around ten times and nothing happen.
#13
Posted 20 September 2014 - 09:09 AM
phillpower2
-
- Global Moderator
-
- 24,780 posts
Mechanised Mod
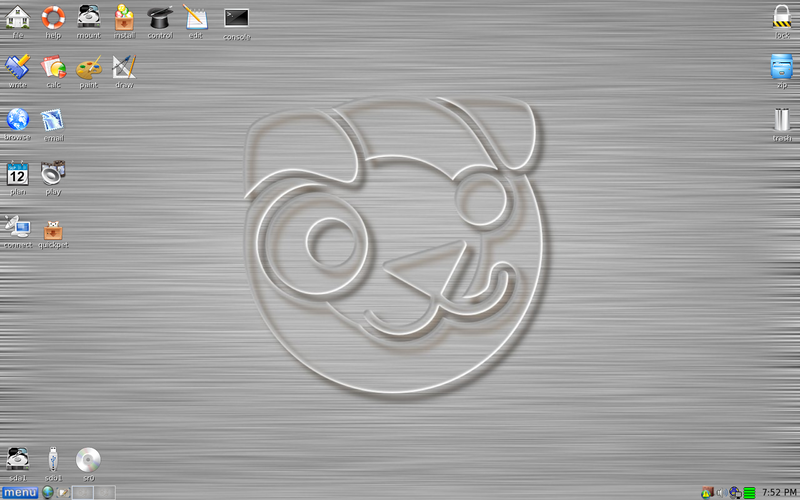
To try and secure your data please see the Puppy Linux information below;
===================
***Required Hardware***
CD Burner (CDRW) Drive,
Blank CD,
Extra Storage Device (USB Flash Drive, External Hard Drive)
===================
1. Save these files to your Desktop/Burn Your Live CD:
Download BurnCDCC ISO Burning Software
There are instructions on how to boot from flash drive with puppy here; http://www.pendrivel...e-from-windows/
![]() BurnCDCC
BurnCDCC
![]() and navigate to the Puppy Linux ISO file you just downloaded
and navigate to the Puppy Linux ISO file you just downloaded
IMPORTANT: Adjust the speed bar to CD: 4x DVD: 1x
![]()
Puppy Linux Live CD will now be created
2. Set your boot priority in the BIOS to CD-ROM first, Hard Drive Second
(Usually shown during the "Dell" screen, or "Gateway" Screen)
CD-ROM 1st, Hard Drive 2nd
![]()
3. Recover Your Data
3a. Mount Drives
![]()
3b. Transfer Files.
For The Novice: The common path to your pictures, music, video, and documents folders is: Documents and Settings >> All Users (or each idividual name of each user. CHECK All Names!) >> Documents >> You will now see My Music, My Pictures, and My Videos.
Remember to only click once! No double clicking! Once you drag and drop your first folder, you will notice a small menu will appear giving you the option to move or copy. Choose COPY each time you drag and drop.
YOU ARE DONE!!! Simply click Menu >> Mouse Over Shutdown >> Reboot/Turn Off Computer. Be sure to plug your USB Drive into another working windows machine to verify all data is there and transferred without corruption. Congratulations!
If you are not worried about losing any data on the HDD, restart the computer while tapping the Alt and F10 keys, if this does not work restart the computer and keep tapping the F11 key, both need to be done as soon as the power is turned on and right up to the point where Windows is attempting to load.
Post back with an update when you are ready.
#14
Posted 20 September 2014 - 10:04 AM
sramsey2014
- Topic Starter
-
- Member
-
- 15 posts
Member
I tried everything you suggested but nothing is working.
#15
Posted 20 September 2014 - 10:16 AM
phillpower2
-
- Global Moderator
-
- 24,780 posts
Mechanised Mod
Does that include trying Puppy Linux.


Similar Topics
0 user(s) are reading this topic
0 members, 0 guests, 0 anonymous users
As Featured On:


 Sign In
 Create Account
