
Can I ask what installation steps that it was that led to the screen above, for example you are installing Windows 7 from a USB device has the boot sequence been set to USB device first and the HDD second, did you get an on screen message saying "press any key to continue" and/or one asking to where you wanted to install Windows.

HP Pavilion with Windows 7 keeps freezing (Resolved)
Started by
hrsepwrbrat
, Oct 06 2014 09:14 PM

#47
: post #47")
 Posted 23 October 2014 - 06:26 PM
hrsepwrbrat
- Topic Starter
-
- Member
-

- 59 posts
Member
It's on a 16G flash drive.
The bios boot order used to be usb device, hdd, cd rom boot. (Wish I had taken a picture)
Now it says cd-rom boot <enabled>, Floppy boot <disabled>, Internal Network Adapter Boot <disabled>
I'm not sure what happened. When I try to install windows, the following happens:
-Turn on with power button
-Windows is loading files shows on screen
-Starting Windows shows on screen
-Install Windows, choose language, time and currency format, and keyboard or imput method
-Click Next, click Install Now
-Setup is Starting shows on screen
-Accept license terms
-Upgrade or Custom, click Custom
-The screen I posted shows up
Seems like the autonuking of the drive may have been too much for it?
#48
Posted 25 October 2014 - 01:25 AM
phillpower2
-

- Global Moderator
-

- 24,780 posts
Mechanised Mod
Most odd as DBan does not have anything to do with the BIOS, boot sequence or other hardware connected to the computer, was the USB stick plugged in when you checked the boot sequence.
See if a hard reset helps, resetting the notebook forces the system to clear and reestablish the software connections between the BIOS and the hardware btw, steps below;
With the notebook turned off;
Disconnect all external connected peripheral devices such as USB storage devices, external displays, and printers
Unplug the AC adapter from the notebook
Remove the battery from the battery compartment.
Press and hold down the Power button for about 15 seconds to drain any residual electrical charge from the capacitors that protect the memory.
Insert the battery and plug the AC adapter back into the notebook, but do not connect any of the peripheral devices.
Press the Power button to turn on the notebook and check what options are available in the BIOS.
If things are back to normal you can either continue with installing Windows or post back here first.
#49
Posted 25 October 2014 - 08:03 AM
hrsepwrbrat
- Topic Starter
-
- Member
-
- 59 posts
Member
I unplugged everything, took out the battery, held the power button for 15 seconds. Then I held it again for good measure!
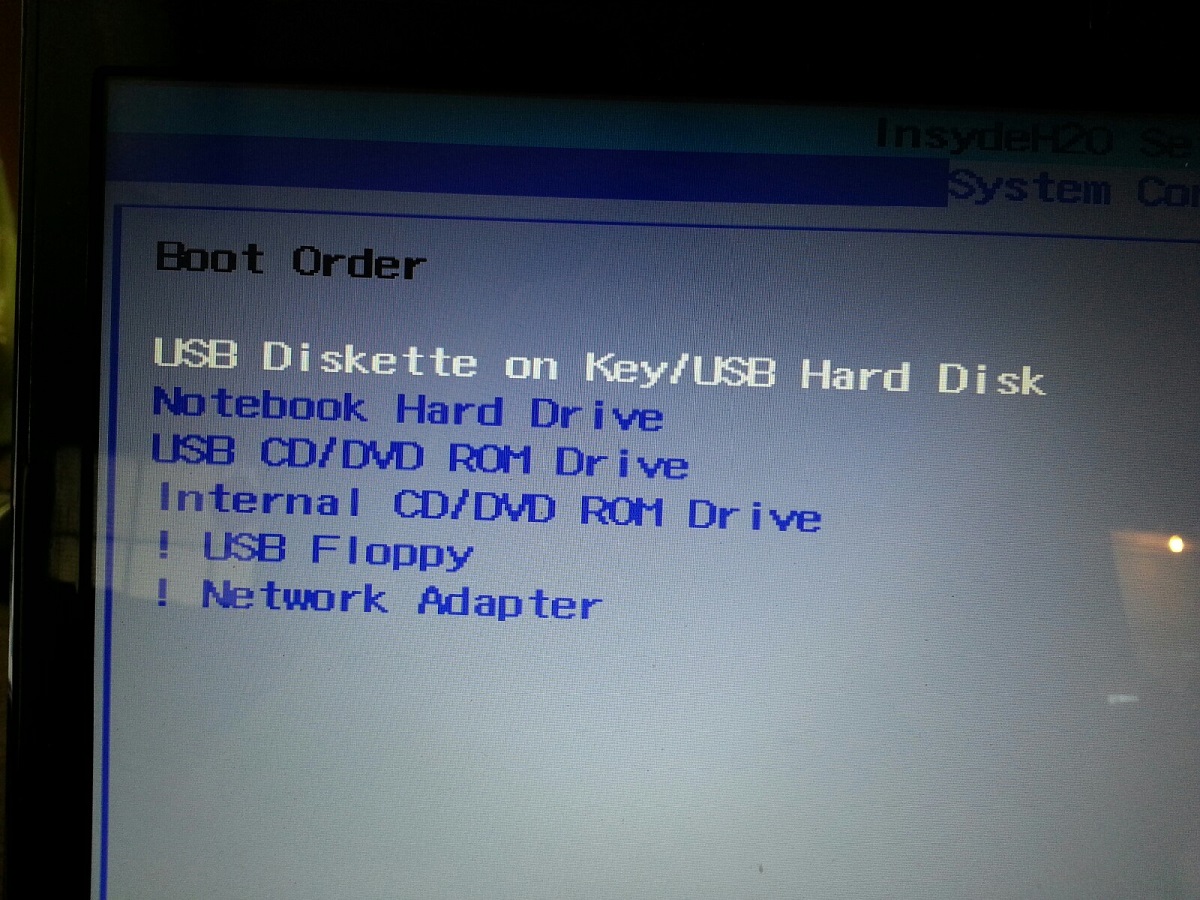
This is what it looks like now...
Attached Thumbnails
Edited by hrsepwrbrat, 25 October 2014 - 08:05 AM.
#50
Posted 25 October 2014 - 10:38 AM
hrsepwrbrat
- Topic Starter
-
- Member
-
- 59 posts
Member
Tried installing windows again, and it's the same thing. Says it cannot be installed to this disk, and the total size is 0.0MB
The clickable buttons are Refresh, Load Driver, and New. The Delete, Extend, and Format buttons are greyed out.
#51
Posted 26 October 2014 - 02:19 AM
phillpower2
-
- Global Moderator
-
- 24,780 posts
Mechanised Mod
The above suggests that the HDD may not be the target storage device, for example, the DVD drive is a boot device but it is not capable of having data stored on it, Windows may be trying install to the DVD drive which would explain the 0.0MB storage capacity.
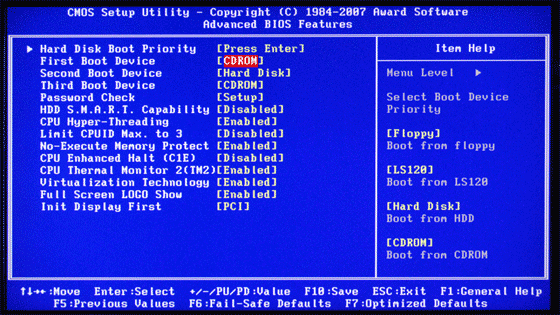
Unfortunately the boot sequence does not confirm the presence of the HDD only what order the BIOS chip will search for a bootable device, if you navigate through the BIOS you may find a page like the example that I have included below, if the HDD is detected if will be identified as described in the attachment and dependant on the brand of the drive, a Toshiba HDD could be something like PX1826E-1HE0 and a Fujitsu HDD AH530 AH550 as two alternative brand identification letters.
#52
Posted 26 October 2014 - 07:42 AM
hrsepwrbrat
- Topic Starter
-
- Member
-
- 59 posts
Member
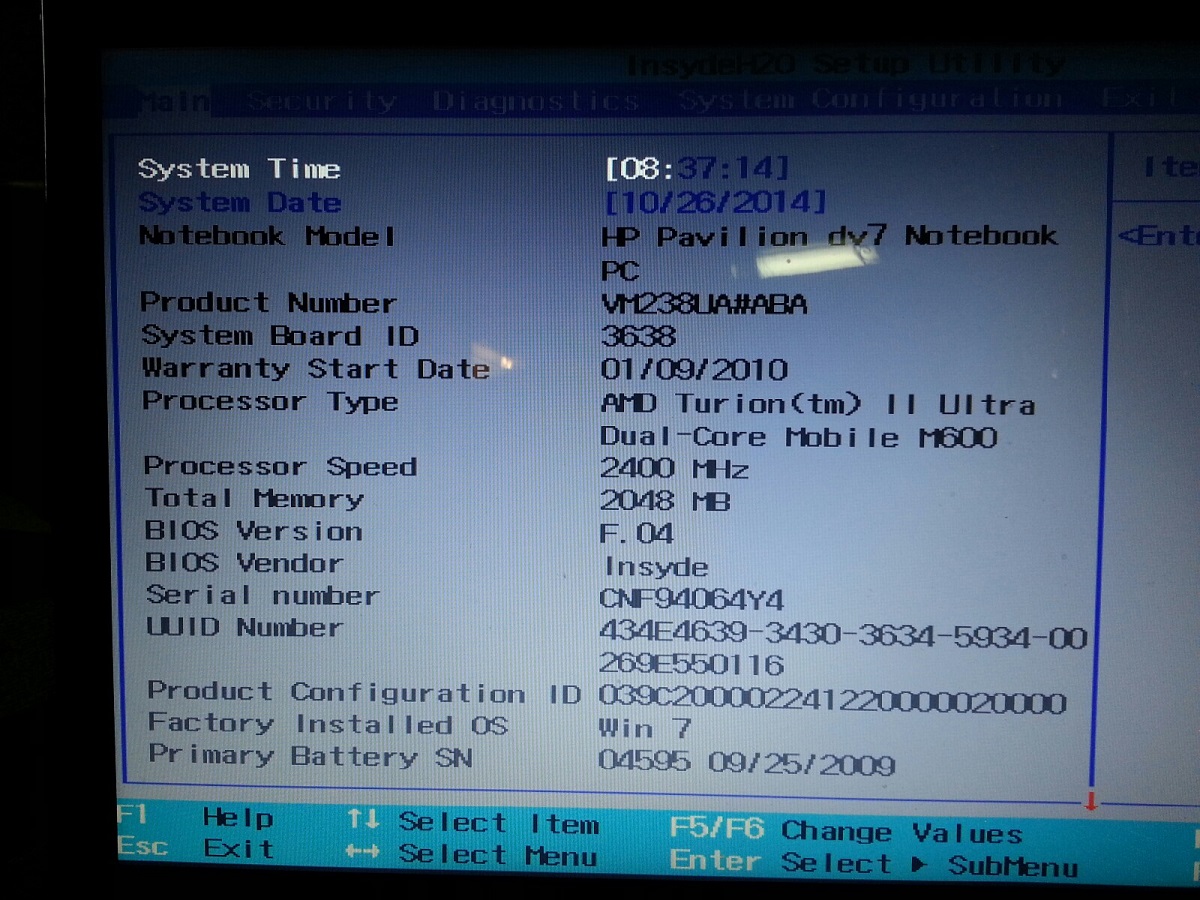
Here's the main screen. When I scroll down, there are three lines below what shows in the pic:
WLAN FCC ID PPD-AR5B95-H
Bluetooth FCC ID
Diagnostic Log
Attached Thumbnails
#53
Posted 26 October 2014 - 08:16 AM
phillpower2
-
- Global Moderator
-
- 24,780 posts
Mechanised Mod
Can I ask what is listed under the System Configuration tab.
#54
Posted 26 October 2014 - 01:29 PM
hrsepwrbrat
- Topic Starter
-
- Member
-
- 59 posts
Member
Language <English>
Virtualization Technology <Disabled>
Fan Always On <Enabled>
Boot Options
#55
Posted 26 October 2014 - 05:00 PM
phillpower2
-
- Global Moderator
-
- 24,780 posts
Mechanised Mod
Nothing helpful there then 
I am not sure why the HDD and DVD drive are not identified anywhere in your BIOS, at the boot order page are you able to highlight the devices to either enable or disable them.
When you restart the notebook does the HDD activity LED blink at all.
#56
Posted 26 October 2014 - 05:37 PM
hrsepwrbrat
- Topic Starter
-
- Member
-
- 59 posts
Member
Doesn't look like it does. the number lock, cap lock, finger pad, and power lights light up. The light that looks like a stack of CDs lights up briefly. The zig zag light between the power and the stack of CDs doesn't light up at all. I'm guessing that's the one?
When I start it now without the flash drive, it says:
Boot device not found.
Please install an operating system on your hard disk.
Hard Disk - (3F0)
F2 System diagnostics
For more information please visit www.hp.com/go/techcenter/startup
--
Under system diagnostics, the Start Up Test shows:
100% of the system memory tested OK
1,841,111,040 bytes of system memory tested OK
Memory Test Pass
Hard Disk Does Not Exist
---
Under the Run In Test:
100% of the system memory tested OK
1,841,111,040 bytes of system memory tested OK
Memory Test Pass
Hard Disk Does Not Exist
----
Under Hard Disk Test:
Hard Disk Does Not Exist
----
Under the Error Log:
03F0 (11 times) Then time: 10262014-183103 (there are 11 of these with different times)
#57
Posted 27 October 2014 - 02:28 AM
phillpower2
-
- Global Moderator
-
- 24,780 posts
Mechanised Mod
Does not look good for the HDD I`m afraid
Did you actually try and run the HDD diagnostic test as detailed here
FWIW, nothing that has been done along the way has caused this, the 03F0 message when Googled shows that it is a common problem with HP notebook HDDs and it was only a matter of time before it happened right out of the blue and possibly with the loss of all personal data on the HDD.
I would try removing and then replacing the present drive in case it has a loose/bad connection, pages 45 to 49 here describe how.
#58
Posted 27 October 2014 - 08:16 PM
hrsepwrbrat
- Topic Starter
-
- Member
-
- 59 posts
Member
Yup, when I try the Hard Disk Test, it says "Hard Disk Not Exist"
I took the hard drive out and looked at it and plugged it back in. Tried to start it, and it went to the System Diagnostics screen. Hit F4 for the test and it said the same thing.
Dang!
#59
Posted 28 October 2014 - 06:56 AM
phillpower2
-
- Global Moderator
-
- 24,780 posts
Mechanised Mod
If the HDD has expired it may suggest that the area of the disk where the recovery partition was could have had bad sectors on it and that is why the HDD is now not detected, two things that you can try, run Seatools to see if it detects the HDD + try Puppy Linux to see if the drive can be mounted, Puppy uses the Ram to operate and the notebook can actually be used if the HDD needs replacing.
Seatools works with most brands of HDD, the details can be found here
Puppy Linux details below;
===================
***Required Hardware***
CD Burner (CDRW) Drive,
Blank CD,
Extra Storage Device (USB Flash Drive, External Hard Drive)
===================
1. Save these files to your Desktop/Burn Your Live CD:
- Download Latest Puppy Linux ISO (i.e.: lupu-528.iso)
Download BurnCDCC ISO Burning Software
There are instructions on how to boot from flash drive with puppy here; http://www.pendrivel...e-from-windows/
- Open BurnCDCC with Windows Explorer
- Extract All files to a location you can remember
- Double Click
 BurnCDCC
- Click Browse
 and navigate to the Puppy Linux ISO file you just downloaded
- Open/Double Click that file
IMPORTANT: Adjust the speed bar to CD: 4x DVD: 1x
- Click Start

- Your CD Burner Tray will open automatically
- Insert a blank CD and close the tray
- Click OK
Puppy Linux Live CD will now be created
2. Set your boot priority in the BIOS to CD-ROM first, Hard Drive Second
-
- Start the computer/press the power button
- Immediately start tapping the appropriate key to enter the BIOS, aka "Setup"
(Usually shown during the "Dell" screen, or "Gateway" Screen)
- Once in the BIOS, under Advanced BIOS Options change boot priority to:
CD-ROM 1st, Hard Drive 2nd
- Open your ROM drive and insert the disk
- Press F10 to save and exit
- Agree with "Y" to continue
- Your computer will restart and boot from the Puppy Linux Live CD
3. Recover Your Data
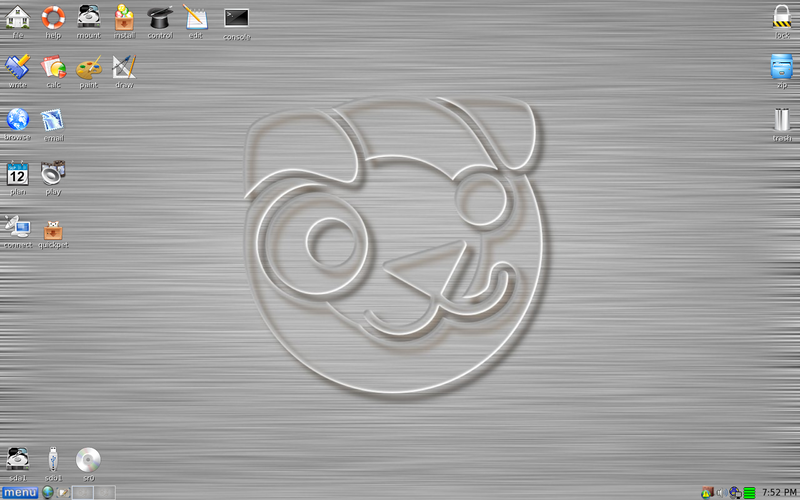
- Once Puppy Linux has loaded, it is actually running in your computer's Memory (RAM). You will see a fully functioning Graphical User Interface similar to what you normally call "your computer". Internet access may or may not be available depending on your machine, so it is recommended you print these instructions before beginning. Also, double clicking is not needed in Puppy. To expand, or open folders/icons, just click once. Puppy is very light on resources, so you will quickly notice it is much speedier than you are used to. This is normal. Ready? Let's get started.
3a. Mount Drives
- Click the Mount Icon located at the top left of your desktop.

- A Window will open. By default, the "drive" tab will be forward/highlighted. Click on Mount for your hard drive.
- Assuming you only have one hard drive and/or partition, there may be only one selection to mount.
- USB Flash Drives usually automatically mount upon boot, but click the "usbdrv" tab and make sure it is mounted.
- If using an external hard drive for the data recovery, do this under the "drive" tab. Mount it now.
3b. Transfer Files.
-
- At the bottom left of your desktop a list of all hard drives/partitions, USB Drives, and Optical Drives are listed with a familiar looking hard drive icon.
- Open your old hard drive i.e. sda1
- Next, open your USB Flash Drive or External Drive. i.e. sdc or sdb1
- If you open the wrong drive, simply X out at the top right corner of the window that opens. (Just like in Windows)
- From your old hard drive, drag and drop whatever files/folders you wish to transfer to your USB Drive's Window.
For The Novice: The common path to your pictures, music, video, and documents folders is: Documents and Settings >> All Users (or each idividual name of each user. CHECK All Names!) >> Documents >> You will now see My Music, My Pictures, and My Videos.
Remember to only click once! No double clicking! Once you drag and drop your first folder, you will notice a small menu will appear giving you the option to move or copy. Choose COPY each time you drag and drop.
YOU ARE DONE!!! Simply click Menu >> Mouse Over Shutdown >> Reboot/Turn Off Computer. Be sure to plug your USB Drive into another working windows machine to verify all data is there and transferred without corruption. Congratulations!
FWIW, another member has recently used DBan for the exact same thing as yourself, he now has Window 7 installed and is off adding other partitions for Linux, topic here
#60
Posted 28 October 2014 - 07:00 AM
Plastic Nev
-

- Member
-
- 485 posts
Member
Hi, do you have another computer to work with? If so now you know how to remove the hard drive a test can be run on it from the other computer, though you may need an adapter, enclosure, or a hard drive docking station to connect the hard drive to the other computer.
If the hard drive turns out to be bad, you will possibly need to obtain an exact same make and model, that Insyde BIOS system is really UEFI and the security within it refuses to accept a different make or model of hard drive. (I have my own nightmare on an acer with that problem)
Nev.


Similar Topics
0 user(s) are reading this topic
0 members, 0 guests, 0 anonymous users
As Featured On:


 Sign In
 Create Account
